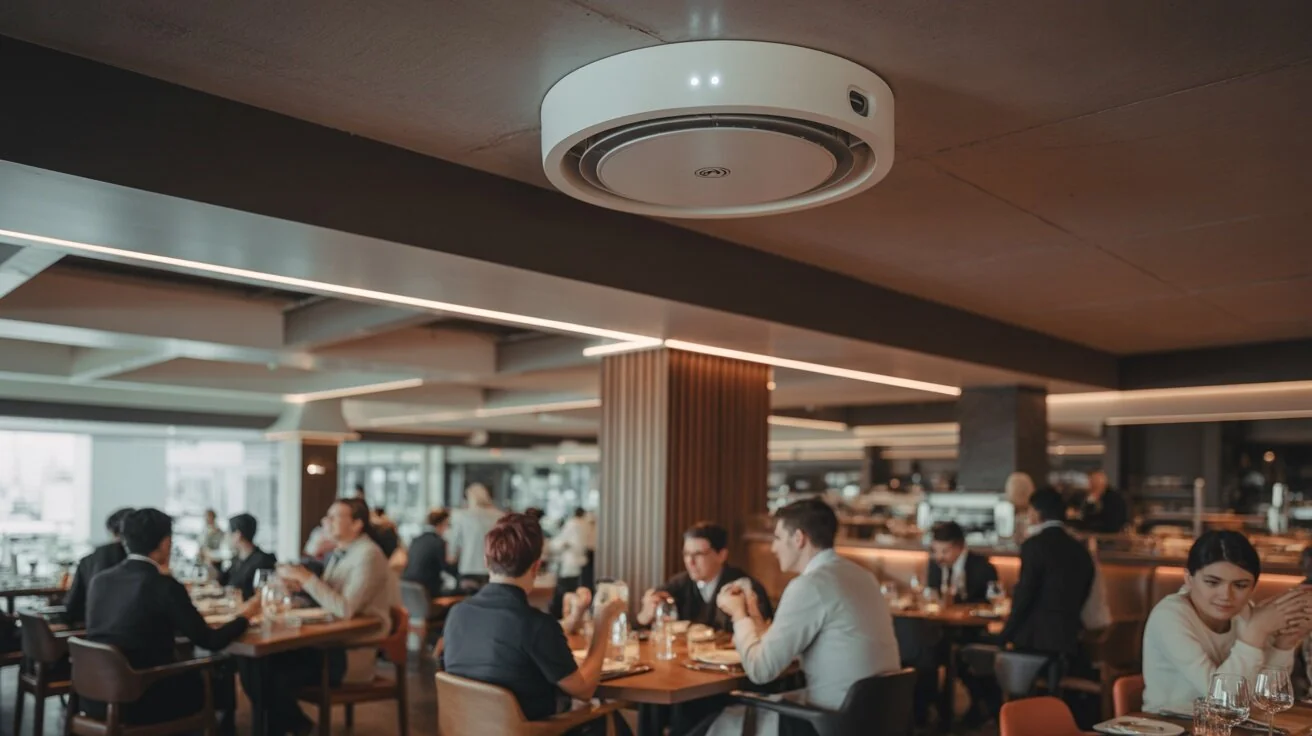
Guests at a restaurant, hotel or fitness club expect free WiFi as a given. But connecting visitors to the same network that carries POS transactions, camera footage, and business data is a direct path to data leaks, bandwidth congestion and IT headaches.
The right approach is to separate traffic at the WAN level: one internet link for business operations, and a second one exclusively for guests. The guest entry point is a Captive Portal — a branded splash page where the visitor accepts terms of use and gets online.
In this article we walk through the full setup on Ruijie gear — from hardware selection to final testing.
Why you need two WAN links
A common mistake when deploying WiFi at a commercial venue is one ISP, one router, one network for everyone. At peak hour 50–100 guests scrolling Instagram, watching YouTube and downloading updates will choke the POS, drop camera streams and break VoIP calls.
- WAN 1 (staff) — a dedicated link for POS terminals, IP cameras, VoIP, servers and staff workstations. Traffic is stable and predictable.
- WAN 2 (guest) — a separate link from the same or a different ISP. All guest traffic is isolated: even at full capacity the business network stays unaffected.
A second link in Thailand from 3BB, AIS Fibre or True costs 500–1,500 THB/month depending on speed. That is negligible compared to even one hour of POS downtime.
Network diagram: hardware and logic
We use the Ruijie Reyee product line — the best price-to-feature ratio for HoReCa and fitness. Here is the minimum kit:
- Gateway Ruijie Reyee RG-EG105GW-X (or RG-EG105G-P V3) — 2× WAN + 3× LAN, VLAN support, Multi-WAN policy routing, built-in AP controller.
- Switch Ruijie Reyee RG-ES200 series (PoE) — powers access points and cameras over a single cable. Learn more in our Power over Ethernet guide.
- Access points Ruijie Reyee RG-RAP2260(G) or RG-RAP6260(G) — ceiling-mount, dual-band, multiple SSIDs bound to VLANs.
Connection logic
- WAN 1 → gateway port → VLAN 10 (Staff) → SSID "STAFF" (hidden) + wired devices (POS, cameras, printers).
- WAN 2 → gateway port → VLAN 20 (Guest) → SSID "FREE-WiFi" (open, with Captive Portal) → internet only, no LAN access.
- Between VLAN 10 and VLAN 20 — full isolation (inter-VLAN routing disabled or controlled by ACL).
Step-by-step configuration
Step 1. Connect both WAN links
- Plug the staff ISP cable into WAN 1 on the gateway.
- Plug the guest ISP cable into WAN 2.
- In the Ruijie Reyee web UI (default 192.168.110.1) go to Network → WAN. Confirm both ports have obtained IPs and have internet access.
Step 2. Create VLANs
- Go to Network → LAN → VLAN Settings.
- Create VLAN 10 (Staff) — subnet 192.168.10.0/24, DHCP enabled.
- Create VLAN 20 (Guest) — subnet 192.168.20.0/24, DHCP enabled.
- Assign switch ports: staff ports to VLAN 10, AP ports as trunk (both VLANs).
Step 3. Policy routing — bind VLANs to WANs
This is the key step. The gateway must route VLAN 10 traffic exclusively through WAN 1 and VLAN 20 traffic through WAN 2.
- Go to Advanced → Policy Routing (or Traffic Management → Smart Flow Control depending on firmware).
- Create rule: Source = 192.168.10.0/24 → Gateway = WAN 1.
- Create rule: Source = 192.168.20.0/24 → Gateway = WAN 2.
- Make sure these rules take priority over Load Balancing settings (switch Multi-WAN mode to Policy Based Routing if needed).
Step 4. Configure SSIDs on access points
- In WiFi → SSID create two wireless networks.
- SSID 1: hidden staff name, e.g. "MYRESTAURANT-STAFF". Security — WPA3/WPA2, VLAN = 10.
- SSID 2: public name, e.g. "Restaurant Name FREE WiFi". Security — Open, VLAN = 20. Enable "Captive Portal".
Step 5. Configure the Captive Portal
Ruijie Reyee supports a built-in Captive Portal with no external server required. Configure it via Ruijie Cloud or locally:
- Go to Authentication → Portal (or WiFi → Captive Portal).
- Select the guest SSID.
- Authentication type: "One-Click" (guest taps a single Connect button) or "Disclaimer" (guest accepts terms of use).
- Upload the venue logo, set a background image, welcome text and terms.
- Set limits: session duration (e.g. 2 hours), per-user bandwidth (e.g. 5/5 Mbps), max devices per session.
Step 6. Isolate guests from the local network
Even with separate VLANs it is important to verify that the guest subnet has no route to the staff subnet:
- Enable Client Isolation on the guest SSID — guests cannot see each other.
- Disable inter-VLAN routing from VLAN 20 to VLAN 10 (or create ACL: deny 192.168.20.0/24 → 192.168.10.0/24).
- Block VLAN 20 access to the gateway web UI (192.168.110.1) via Firewall → Access Control.
Step 7. Bandwidth throttling
To prevent one guest with a torrent from killing WiFi for everyone else, set up Bandwidth Control:
- In Traffic Management → Bandwidth Control create a rule for VLAN 20.
- Per-client limit: Download — 5 Mbps, Upload — 2 Mbps (adjust based on WAN 2 speed).
- Total VLAN 20 cap: e.g. 80% of WAN 2 bandwidth to keep headroom.
Management via Ruijie Cloud
All Ruijie Reyee gear is managed through the free Ruijie Cloud platform (cloud.ruijienetworks.com). This gives you:
- Real-time monitoring: connected guests, link utilisation, AP status.
- Centralised management: Captive Portal settings, SSIDs and security policies can be changed remotely.
- Analytics: connection stats by time of day, average session length, unique visitors per day/week/month.
- Alerts: notifications for link failures, AP overload or suspicious activity.
Common mistakes
- Both WANs in Load Balancing mode — traffic floats between links and guest/staff traffic mixes. Fix: strict Policy Based Routing.
- Captive Portal without HTTPS — modern browsers (Chrome, Safari) block HTTP redirects. Ruijie Cloud handles this automatically; for local setups you need an SSL certificate.
- No bandwidth limit — one Zoom call at 20 Mbps starves dozens of guests.
- Guest network with a password instead of Captive Portal — the password leaks on day one and you lose control of access.
- No Client Isolation — guest laptops end up on the same broadcast domain and a malicious user can scan other devices.
Budget estimate
Approximate hardware budget for a typical 200–500 m² venue (restaurant, small hotel, fitness centre):
- Ruijie Reyee gateway (2 WAN) — from 4,500 THB.
- Managed PoE switch — from 6,000 THB.
- 2–4 ceiling-mount APs — from 3,500 THB each.
- Cabling (UTP Cat6, trunking, patch panel) — from 8,000 THB.
- Second ISP link — from 500 THB/month.
- Configuration (turnkey by WLTT) — from 5,000 THB.
Total: from 30,000–50,000 THB for a fully working system with two independent links, Captive Portal and cloud monitoring. For comparison, replacing a single burned-out POS terminal costs 15,000–80,000 THB, not counting lost revenue.
Summary
Guest WiFi with a Captive Portal on Ruijie gear is not a "big hotel and restaurant" luxury. It is a basic necessity for any commercial venue with visitors and business-critical systems. Dual WAN, VLAN segregation, policy routing and the built-in Ruijie Reyee portal let you deploy the entire setup in a single day.
WLTT designs and deploys these solutions turnkey — from site survey to a branded Captive Portal with your venue logo. Drop us a request and we will prepare a quote for your venue.